/
Blender
Nathan Wailes - Blog - GitHub - LinkedIn - Patreon - Reddit - Stack Overflow - Twitter - YouTube
Blender
- Nathan Wailes
Owned by Nathan Wailes
Table of contents
Child pages
Related pages
- ...
Troubleshooting
- Low resolution output
- Fixed by doing a hard-cut at the beginning and end of the frames to be rendered.
How to do various actions I've wanted to be able to do
- Fade in and out
- https://blender.stackexchange.com/questions/57532/how-do-i-fade-music-in-and-out-using-blender
- Summary:
- Click where you want it to start fading, on the right hover over the volume option and press 'I' to set a keyframe, and then click where you want the fade to end, set a keyframe there, and set the volume to the desired end volume.
- Summary:
- https://blender.stackexchange.com/questions/57532/how-do-i-fade-music-in-and-out-using-blender
- Crop
Sync video and audio more closely
- Just zoom in on the video/audio strips and drag the green frame indicator around to listen to the audio while the video plays.
Editing a "Let's Read" video in Blender
- Open Blender.
- Set your green cursor to the 0+00 frame.
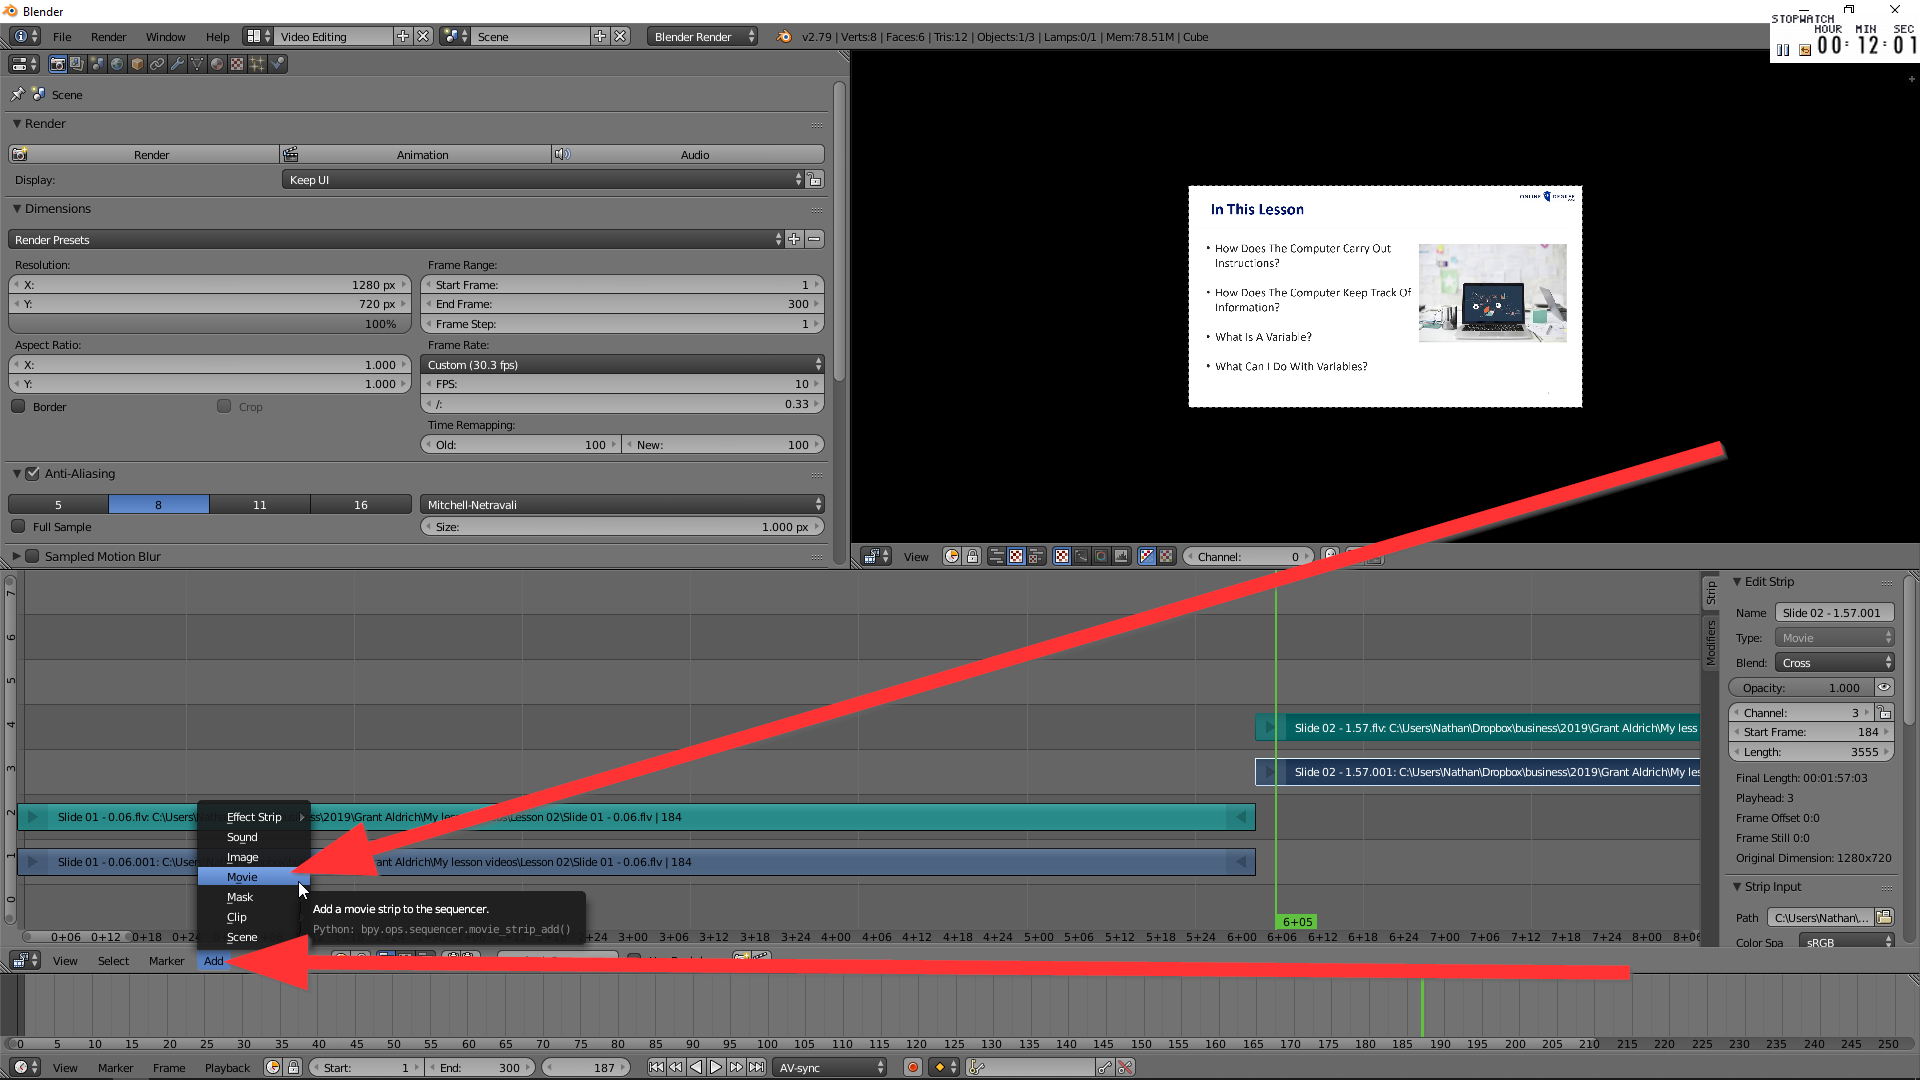
- Go to Add→Movie.
- You only need to worry about your set frames-per-second (in Blender) being wrong if the video and audio clips show up as different lengths.
- If you have multiple clips:
- Set the green cursor to the end of the first clip, then do "Add → Movie".
- The new clip and its audio should be automatically selected.
- Press "g" (Grab) and then "y" (restrict movement to the y axis) and drag it up to a higher sequence.
- Note that you do not need to click and hold to drag the selected clip. Just move the mouse up without clicking.
- Set the X and Y dimensions to 640x480. YouTube will adjust the video to look right with a wider screen.
- Set the number of frames to 500 and do test runs to make sure everything looks and sounds right.
- Determine the total number of frames through trial-and-error.
- I used the following Encoding (output) settings: (it took some trial-and-error to get something that looked and sounded right)

- Container: AVI
- Codec: H.264
- Output quality: Perceptually lossless
- Encoding speed: Medium speed
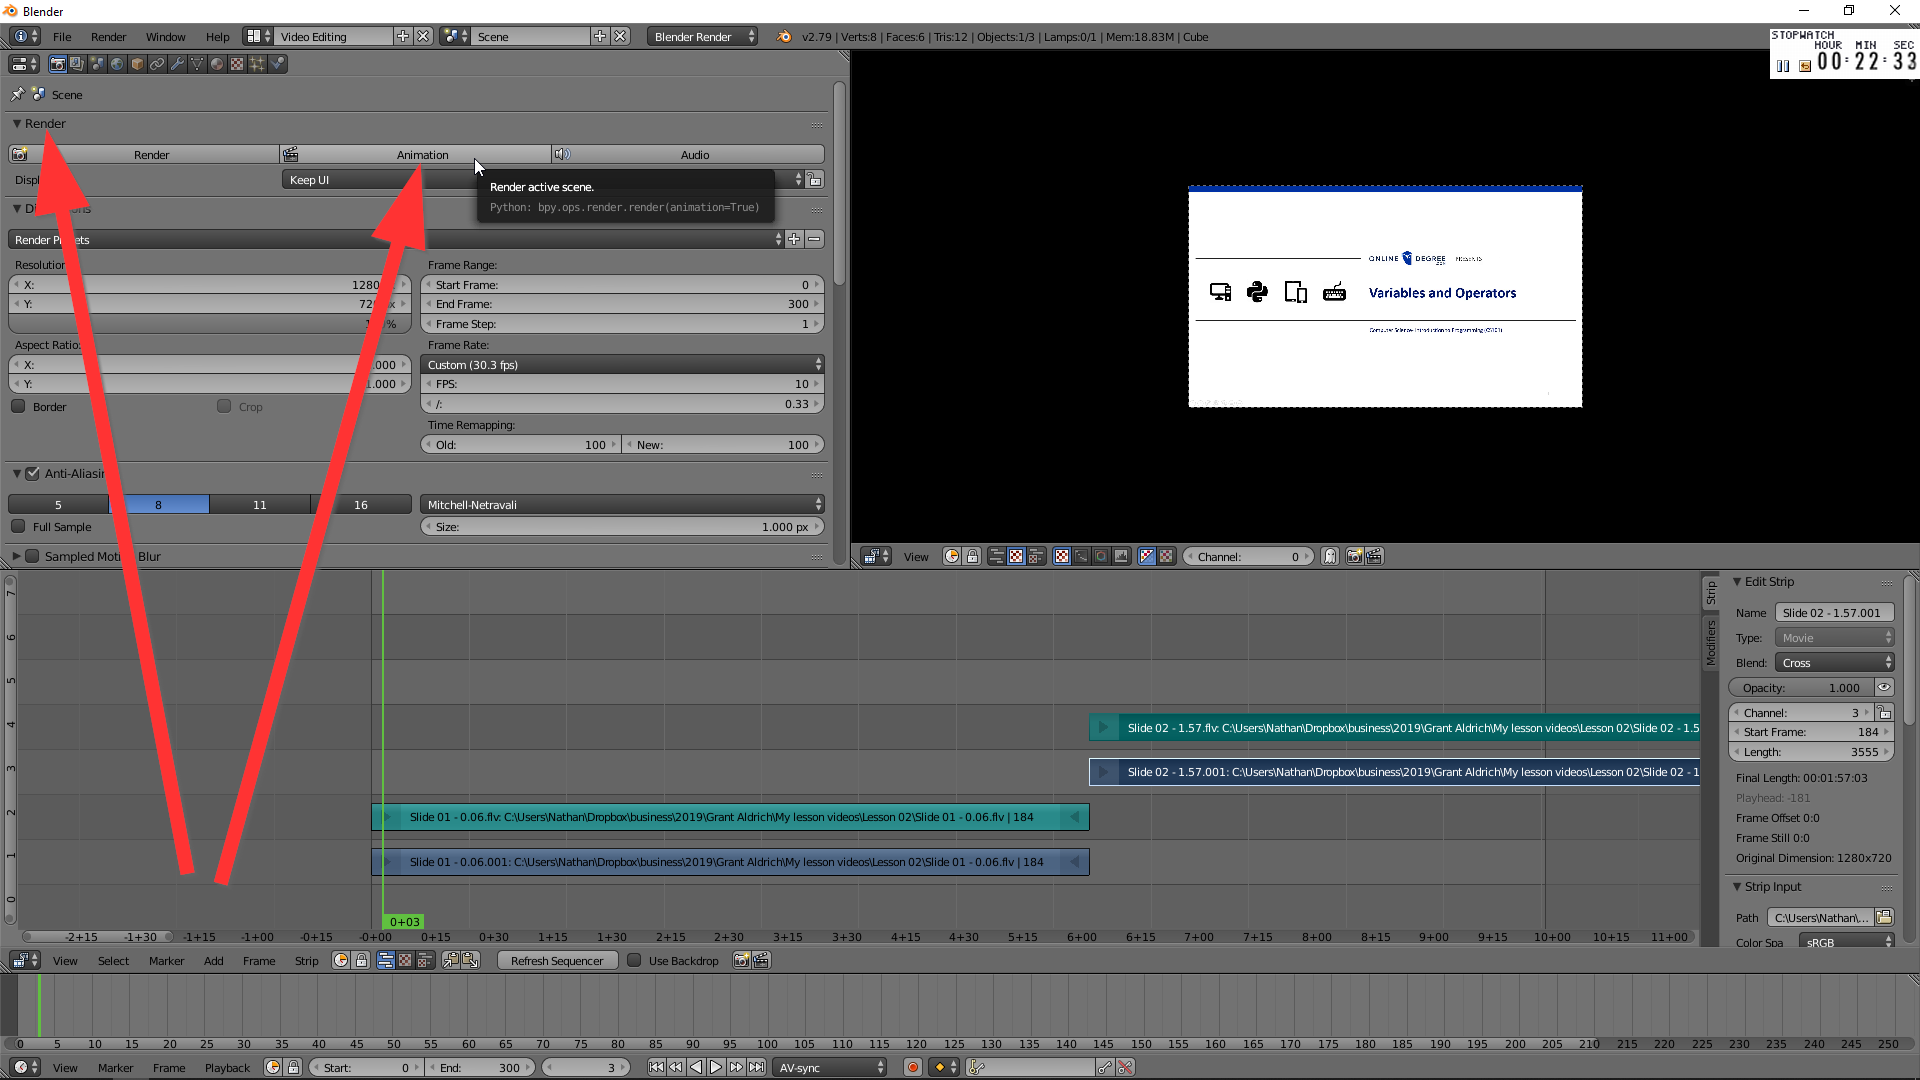
- To render the video, go to Render → Animation.
Learning how to use Blender
YouTube - Mikeycal Meyers - Blender VSE Tutorial Series
Episode 0 - Blender's story
- He explains how Blender came about. A guy developed a tool in the early 90s for his animation company, then tried selling the tool, then the company failed, and so he raised money to buy the software and made it open-source.
Episode 1 - Set up Defaults
- Start blender
- Click somewhere on the screen to get rid of the initial dialogue.
- On the top navbar, click the button to the right of "Help" and you should see a dropdown.
- Pick the last option: "Video Editing".
- You should now see the video editing UI.
- On the top half of the screen, on the right, is the video preview.
- On the top half of the screen, on the left, is a curve graph editor, which is used for things like if you want to control the speed with which a fade happens.
- On the bottom half of the screen is the video sequencer. Same idea as you've already seen in Windows Movie Maker / Adobe Premiere.
- Beneath the sequencer is the Timeline, which is meant to be used with the curve graph editor.
- The bottom navbar is the preview playback control bar.
- At the bottom of the graph editor is a navbar. At the very leftmost-end of that navbar is a button that, when you click it, shows a "pop-up" window.
- Click the pop-up window button.
- Pick the "Properties" option to switch the graph editor to a Properties window.
- The screen as it is right now is pretty much what you'll want to have set up as the default view when you start Blender.
- The properties window is used to change the resolution, framerate, etc.
- Now we're going to set all the default settings in the properties window:
- Render section:
- Set the 'Display' dropdown to 'Keep UI' to have it only render to a file, without also generating a viewable preview.
- Dimensions section:
- In Dimensions-->Render Presets, you'll want to set either HDTV 1080p or 720p.
- In Frame Range-->End Frame, set the end frame to the product (*) of your intended frames per second (generally 30 for YouTube) and the intended length of the video.
- So a 5 minute video at 30fps would have 5 * 60 * 30 = 9000 frames.
- You can also change the number of frames via the "preview playback" navbar at the very bottom of the Blender window.
- To the right of that box is a box that shows the frame that you're currently previewing.
- Set the frame rate to 30fps (for YouTube).
- Be sure to later the frame rate to that of whatever source video you use.
- To know what the frame rate of your source video is, use VLC's "Media Codec" option.
- Be sure to later the frame rate to that of whatever source video you use.
- Output section:
- Set the path to whatever default directory you want to output to.
- He has a disclaimer at this point that "Render" and "Animation" are terms he uses interchangeably. Clicking the "Animation" button is what renders the video.
- Set the default output file format.
- It should start as "PNG", so look for the text "PNG".
- He recommends xvid.
- To the right of the default file format button there should be "BW" and "RGB" buttons. Click the "RGB" button to have Blender render in color.
- Encoding section:
- Click the 'Presets' dropdown and select 'Xvid'.
- Set the Audio Codec to MP3.
- Render section:
- In the preview playback navbar at the bottom of the Blender window, select the Playback menu and enable Audio Scrubbing, AV Sync, and Frame Dropping.
- Audio Scrubbing makes it so when you drag the 'current frame' indicator around, it'll play the audio in real-time.
- AV Sync will have Blender do lip-syncing to match the video to the audio. (NW: Really? That sounds hard.)
- Frame dropping will set the video so that when the viewer is watching the video, if the viewer's computer is struggling to play the video fast enough to keep up with the audio, it'll drop frames to make sure that the video continues to play in-sync to the audio.
- In the navbar beneath the sequencer, select View → Show Offsets.
- This will make it easy for us to see when a video clip that we've shortened has more footage that we can add back in.
- Go to File → Save Startup File → Save Startup File to save these settings as the default.
- Go to File → User Preferences → System.
- He talks about setting a "Prefetch Frames" setting, but has a pop-up saying that it's no longer available in new versions of Blender.
- Apparently it was just a way to reduce lag when viewing previews by rendering not just the current frame but also future frames.
- You should consider increasing your Memory Cache Limit setting.
- He has 16gb of RAM and sets his to 10gb (10000 in the menu).
- At the bottom of the Preferences window click the 'Save User Settings' button.
- He talks about setting a "Prefetch Frames" setting, but has a pop-up saying that it's no longer available in new versions of Blender.
Episode 2 - Importing video
- Today he's going to discuss the sequencer.
- It's broken into lighter- and darker-grey rows.
- The rows are called 'Channels'.
- If you want to see more channels, click the tiny circle on top of the scrollbar on the left of the sequencer and drag upwards.
- The green line represents the current frame being viewed in the preview window.
- At the bottom of the Blender UI on the preview playback navbar, you can see the number corresponding to the frame that the green line is on.
- If you click and drag the green line, the number of the frame changes.
- To jump to a specific frame, you can type into that box and hit Enter.
- When you import video, that imported video will begin wherever the green line is.
- There are two ways to import video:
- You can drag-and-drop a video from a Windows Explorer window onto the sequencer.
- You can click Add-->Movie on the navbar at the bottom of the sequencer.
- In the menu that pops up, select the file and click 'Add Movie Strip'.
- When you import video, you see two "strips" show up on the sequencer. The blue strip is for video, and the teal strip is for the audio.
- To select a strip, click on it with your *right* mouse button.
- You can switch it to work 'normally' (LMB), but he recommends learning to do it this way.
- He has a note on-screen that says the audio channel is moved with the LMB (click-and-drag?)
- To see for-sure that a channel contains audio or video, look at the "Edit Strip" window on the right side of the sequencer, and look for a "Original Dimension" property. Video will have the resolution of the video show up here, while audio will say "None".
- On the strips themselves you'll see a number to the right of the file path. That number is the number of frames contained in that strip.
- Make sure that your audio strip and video strip have the same number of frames or the audio will be out of sync with the video.
- In his case, the number of audio frames was greater than the number of video frames, and it was because his render settings were set to 30fps, but his imported video was actually only 24fps, so the video strip had the 'correct' number of frames, but the audio strip was using a calculated (incorrect) number of frames.
- He has a note that you can also spot mismatched video / audio if you zoom out and just look at the lengths of the strips.
- Also make sure that the render settings match the resolution of the imported videos.
- If you import a video that is a different resolution from your default resolution, and want to render at the resolution of your imported video, you can change the currently-set render resolution in two ways:
- You can go to the settings and change it manually.
- Select the video strip (RMB), then look for the "Strip" button in the navbar below the sequencer, and click Strip-->Set Render Size.
Episode 3 - Zooming/panning the sequencer and rendering a range of frames
- He restates "the most important lesson" from the previous lesson, which was to make sure that the resolution and framerate that you're set to render to match those of the imported video
- He goes to the sequencer and does Add-->Movie and imports a sample Blender video.
- Every strip has a handle at the beginning and the end.
- If you click and hold with the middle mouse button, you can drag your view within the sequencer.
- You can also do this with the preview.
- You can zoom in and out with the middle mouse wheel.
- If you position your mouse cursor over the sequencer and hit the 'Home' keyboard key, it'll zoom out to show the full duration of the imported videos.
- You can also use the Home key on the preview window to zoom the preview to fill the screen.
- The black vertical lines in the sequencer represent the start frame and end frame that will be rendered.
- To set the start / end frame to the current position of the green bar, go to Blender's bottom-most navbar, and select Frame-->Set Start/End Frame
- To render, go to the properties window and in the "Render" section at the top, click the "Animation" button.
- When the video is being rendered, you'll see a progress bar in the center of Blender's top navbar.
Episode 4 - Selecting, Grabbing, Moving, and Cutting strips
- There are three ways to 'group select' multiple strips:
- Hold down the Shift key and select each strip with the RMB.
- "Box select" by pressing B and click-dragging to place a box around the strips with the LMB.
- Click on the sequencer and press A to select all.
- If you select a strip and press G you'll 'grab' it (it'll follow the mouse around).
- If you press the X or Y key after the G key, you'll constrain the movement to the X or Y axis.
- There are two types of cuts:
- Soft cut: frames can be added or removed after you perform a cut by grabbing and moving the strip handles.
- Hard cut: you can't readjust the cut, but it may be more memory efficient.
- You can see these actions (and their shortcuts) if you go to the sequencer navbar and select Strip-->Cut soft/hard
- You can undo with Ctrl+Z
- When you do a soft cut, you'll see a thin line that represents the part of the original strip that has been cut out but could be added back if you dragged that edge of the strip in that direction.
- If you don't see them, go to the View menu and select 'View offsets'.
- To cancel a grab, hit the escape button.
Episode 5 - How channels work
- Just as with Photoshop's layer system, video/image channels that are further up are placed on top of the channels underneath them
- This layering only applies to video/image, and not to audio.
- Channel 0 is different from the other channels. It represents the view from the highest-level channel. So you never have a strip on channel 0.
, multiple selections available,
Related content
Editing
More like this
YouTube (as a tool / skill)
YouTube (as a tool / skill)
More like this
How to get a fairly high-quality transcription of your speech quickly and for free by using YouTube
How to get a fairly high-quality transcription of your speech quickly and for free by using YouTube
More like this
Flask (Python)
Flask (Python)
More like this
How to use Audacity (+ a spreadsheet) to analyze a rap song
How to use Audacity (+ a spreadsheet) to analyze a rap song
More like this
Chrome Devtools
Chrome Devtools
More like this